Translate

Thursday, February 27, 2014

My goodness it's really been almost two weeks since my last post.  Time flies when your having fun!  Wish I could say I've done something exciting to report, but no such news.  I've just been watching craft videos and learning how to do a different type of collaging that I haven't done before.  I'm taking a class with Cathy Bluteau that's called 21 Secrets of Doodling.  I'm having a great time doing the techniques, and soon I'll post a picture of the collage that I've done.  You can find her classes at Cathyb.typepad.com.

Well today I'd like to share a really sweet collage of a couple of ladies that are stamps from my favorite artist Julie Nutting.  The stamps are made by Prima. She has some new stamps that I'm hoping will arrive soon, but these stamps are from the first line she did last year. If you've looked through some of my old posts, you'll find that I've used some of her stamps on other projects already.  I've fallen in love with them, as I'm hopelessly obsessed with paper dolls.  Maybe it's because I was such a tomboy when I was younger.

This collage was made on an 11x14 canvas.  I used flexible modeling paste to put the honeycomb designs on.  Then I also used a stencil by Stencil 1 to apply the flexible modeling past to the tree.  I just mixed in a little brown paint into the modeling paste.  Then I sprayed the canvas with different shades of spray mists.


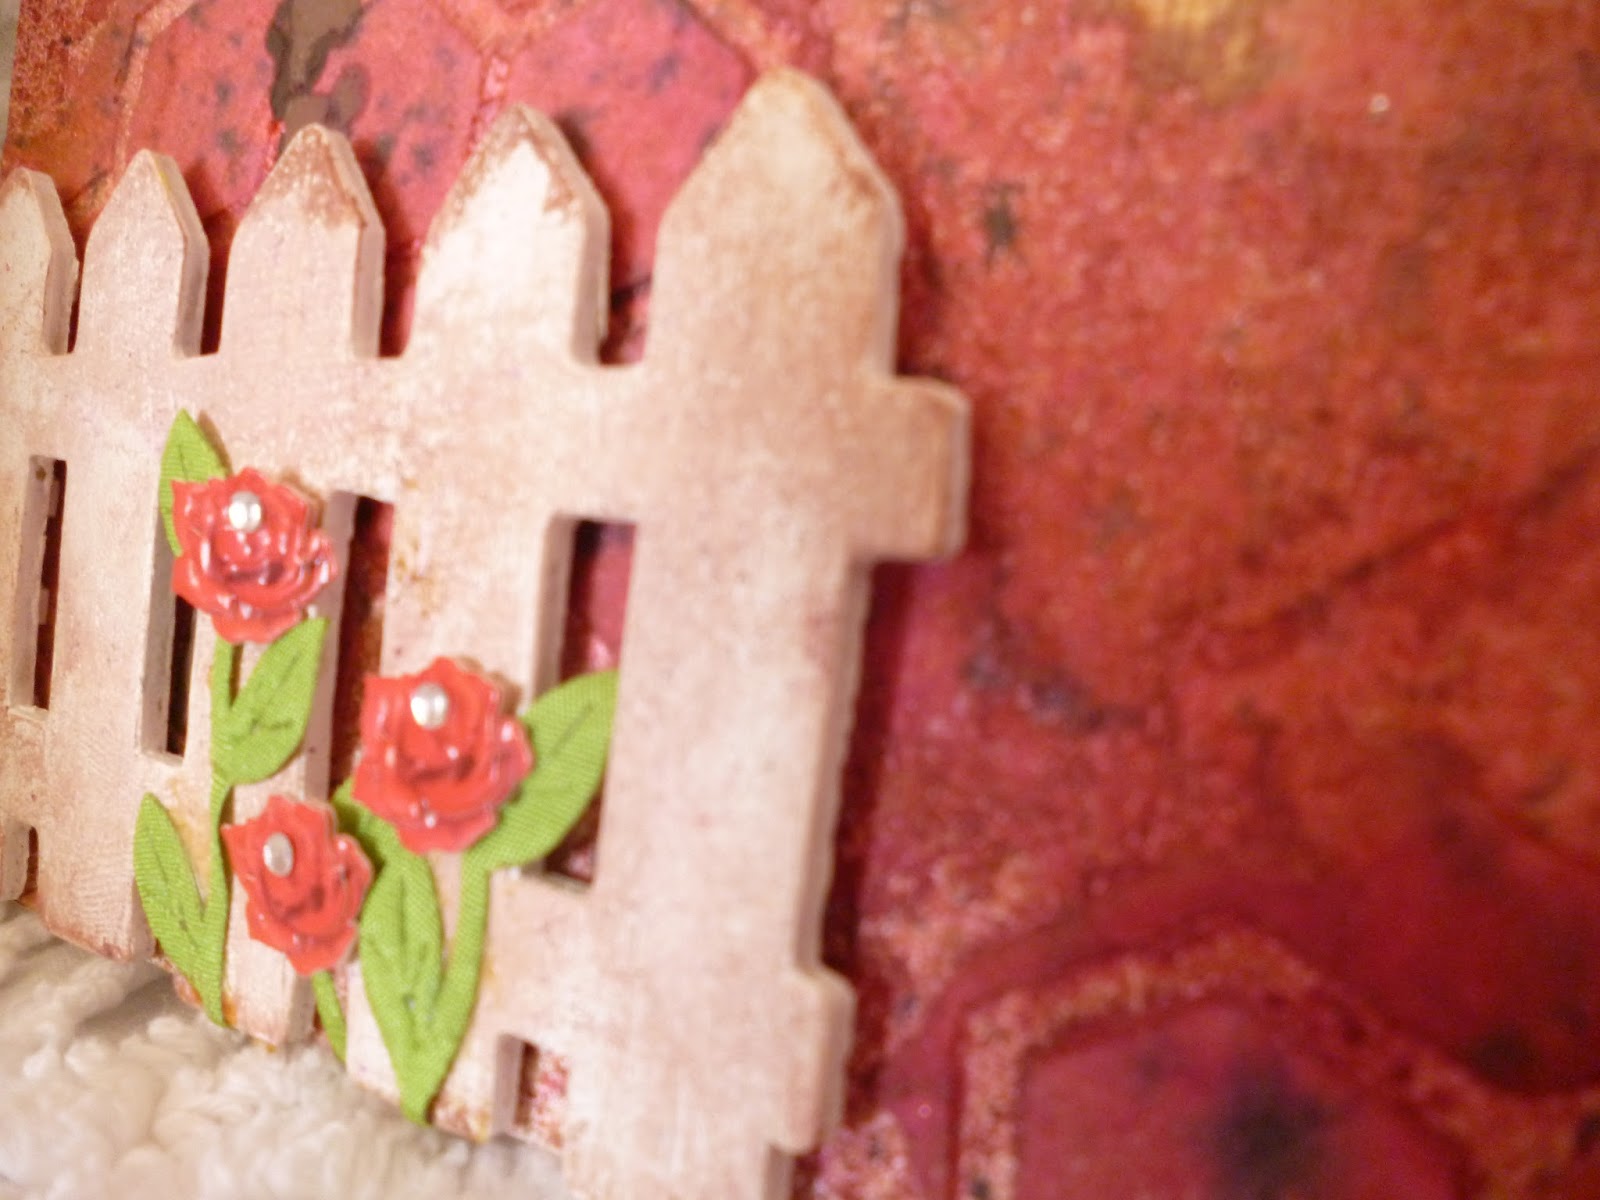
After I got the colors where I liked them, then it was all about the embellishments.  I used a wooden fence that I found in the wood section in Michaels, painted it white, and dry brushed some brown acrylic paint to make it look a little older.


In this side picture you can see that I attached foam dots to the fence to make it pop off the collage. 


 I then applied some cute dimensional butterflies by Recollections.  Next I  applied the wooden pieces.  On top of the bird house I used a ball chain from Tim Holtz's collection.  I just layed down a line of thick tacky glue and set the chain on top.  The mushrooms were wood pieces that were the same color as all the other wood embellishment, but I wanted them to look more real.  I used acrylic paint to change their color.  Don't be afraid to alter items, it's only paint.  You can always keep trying different paint colors to see which ones you like the best. As you can tell these wood pieces gives it a lot of dimension.  


I then rubber stamped the two girls onto white cardstock, and then paper pieced the patterned paper by My Minds Eye for their clothes.  Then I colored in their skin tone with Copic markers.  I used a watercolor wash to create color on their cheeks.


 I think this came out so cute.  I'm so in love with these stamps, that I'm sure you'll be seeing a lot more of them in my other projects.  I'll be checking the mailbox daily to see if my other stamps came in yet.  I hope you all enjoy my collage, and happy crafting!


Friday, February 14, 2014

Happy Valentine's Day!!!!!  I hope your all taking time to let the special people in your lives know how much they mean to you.  I thought today I'd share a couple of Valentine's Day cards I made for the Grandkids, and an extra one just for that special someone in your life.

This card is one I made for my beautiful granddaughter.  She's 4 years old, and loves anything Disney.  I fell in love with the cute ribbon at the top.  I'm sorry the picture is so dark, that's what happens when you wait until the morning your mailing the card to photograph it.  I know she will love it, and I loved how fast it was to make.


Next is the card I made for my 6 year old Grandson.  He's always moving a mile a minute, so the bike and skateboard were perfect for him.  I like that I used something different, not just Valentine's images.  Since he's 6, I didn't want to put a lot of stuff on his card, so I kept it simple.


The next card I'd like to share is for my 9 month old Grandson.  I didn't want to put on anything small, so these felt owls were perfect.  I used extra glue to seal the felt shapes on better.  I have no doubt that he'll try and taste it, and I didn't want anything to be able to be pulled off the card.  


You'll notice the simplicity of these cards, the little ones just aren't interested in all that stuff, so I try and keep the embellishments to a minimum.  

Last but not least, here's my card for a significant loved one.  I didn't notice till just now that my ribbon is crooked.  Oh well, they'll never know.  Sometimes you just have to let go and embrace the imperfections.  I used Martha Stewart's punch all over the page punch.  It really looks beautiful in person.  The embellishments are from K & Co.  The heart doily is from the dollar store.  This card took me longer to make then the others, but I just love all the different layers. Have a great Valentine's Day and I hope you all get to be spoiled by someone you love today, and happy crafting!